
If you have ever been subjected to an hour long slideshow with monotone narration by Aunt Mildred about her trip to Niagara Falls, you understand how bad it is to make travel videos that people actually want to watch. Don't be Aunt Mildred.
You are doing big things, visiting amazing places and experiencing adventures of a lifetime. It is only natural to want to preserve those memories in video form to share and to rewatch from time to time. Knowing exactly how to make stunning travel videos can be a challenge.
This ultimate guide will take you through the steps and covers which gear to use, how exactly to shoot the best video, editing and sound. Let's get started.
Step 1: Video Gear

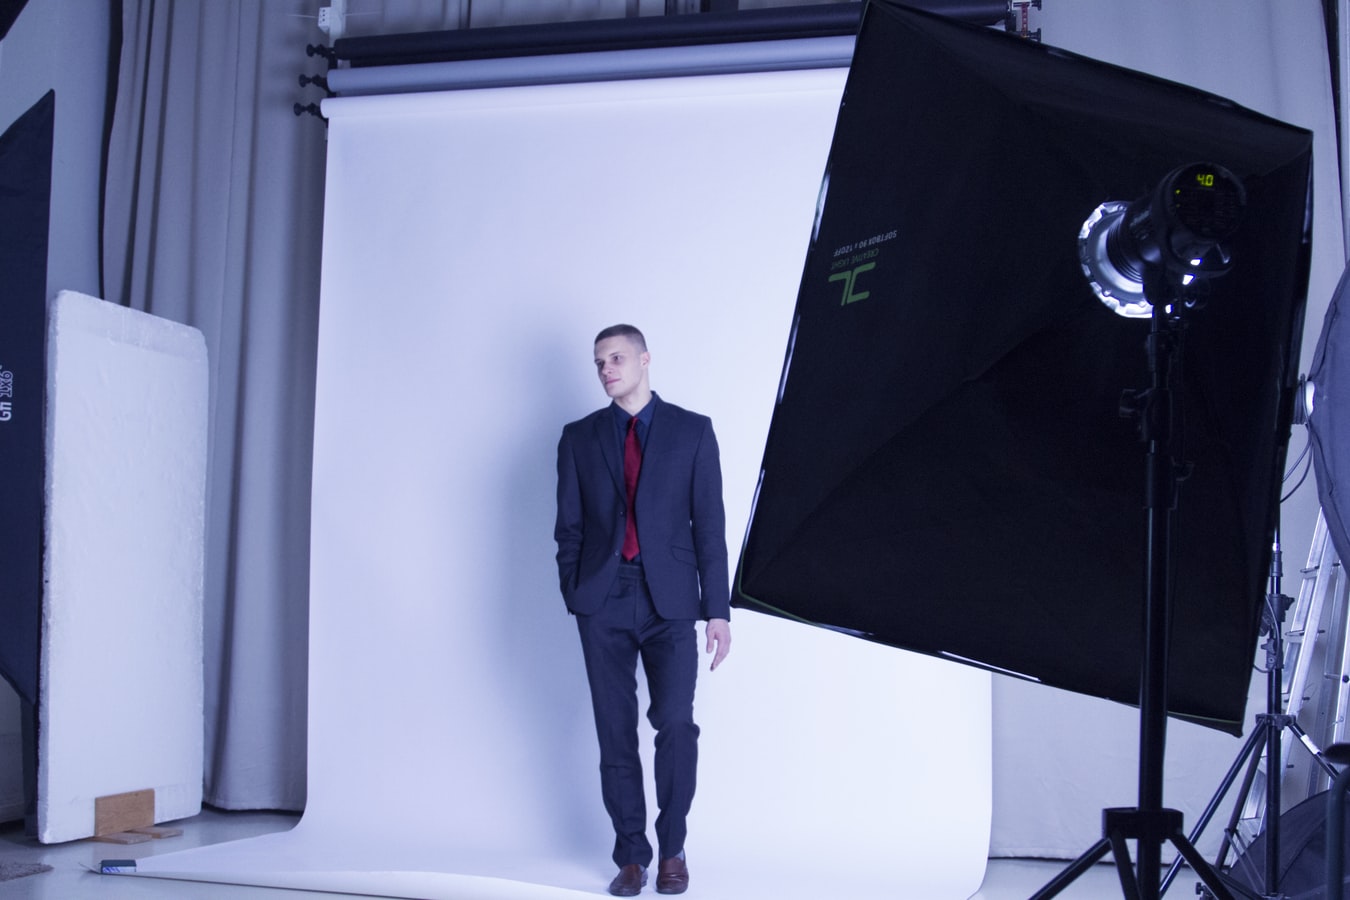
This step is important because you want to balance shooting high quality video with packing light for travel. You may also have a budget, so we take that into consideration, also. We recommend that you use your smart phone or tablet to take your travel videos. Shocking, right?
It is entirely possible to make stunning, professional quality travel videos with your smart device and a few other simple pieces of equipment:
iOgrapher Multi Case. The multi case allows you to stabilize your smart phone, add attachments and utilize it as you would an expensive camera. If you would rather use a tablet, there is a case for that, also.
Kase Anamorphic Film Lens. Create cinema quality, widescreen shots out of the box with this lens. Place your phone in the Kase Lens Holder, snap it into the multi case, add the lens and you are shooting within minutes.
Flexible Mini Tripod. A small, flexible, dependable tripod is a must have for shooting pro travel videos. Wrap it around poles, trees, bikes, whatever it takes to get that perfect shot. Make sure that you grab one that will wrap around to capture a great selfie, too..
Vmic Mini Shotgun Mic. If you want to narrate your travel videos or include live sound, this is the mic we recommend. It is easy to use, plug and play, and there are no batteries required.
iOgrapher Travel Backpack. For a separate backpack to tote your video equipment, we love this one. Designed specifically for video gear, the anti-shock padding is a necessary feature for traveling. It sports more than enough room for your equipment.
Step 2: Plan Your Shoot

Now that you have your gear, it is time to plan your shoot. This step occurs after you book your trip but before you begin to travel. Ask yourself the following questions:
- What type of video do you envision?
- Are you documenting your travels with you included or as a documentary?
- Will it be playful or serious?
- Who will view it and how can it be tailored to your audience?
Part of planning your shoot is thinking about how to respect your environment. For example, photos and video are prohibited inside of Auschwitz and if you plan to distribute your video for commercial purposes, you will need to request permission. Go through your travel itinerary and plan accordingly depending on your destinations.
If you plan to film the Eiffel Tower at dusk, research what time the sun sets and plan your day around getting that shot. Outlining a plan for what shots you want will help you to coordinate and ensure that you don't miss important footage.
Step 3: Time to Edit
You are back home with hours of incredible footage and memories that will last a lifetime. Now it is time to pick some cool music and begin editing. Try these sites for music:
- Artist.io
- MusicBed.com
- FreeMusicArchive.org
The ideal length of a travel video is 3-5 minutes. Plan out which locations you want to include in each video. Are you going to create a time lapse of a specific destination or will each video have a theme?
A few cool videos you can put together are:
- Food at each location over the course of your travels
- Time lapse of a busy location
- A tour style series of narrations throughout the same location
The possibilities for creativity are endless.
Consider using Adobe Lightroom to look over your footage and put together a solid plan. Once you have a goal for your footage, open up Adobe Premiere Pro to find the video clip you want and drag it from Lightroom into the video timeline. Coordinate the most impactful video with high energy parts of your music. Play around with footage to test transitions between footage and music until you reach the perfect balance. Smooth out your transitions using effects and add sound effects, if needed.
Step 4: Export and Upload
Export your videos in a format that will retain quality but is still a reasonable enough size. Save this as your backup and use it as a jump off for other formats. Create an MP4 file to upload to Youtube and Vimeo.
Share your professional quality travel videos with family, friends, travel communities and other travelers interested in exploring your destination.
If you used your iOgrapher to make your travel videos, don't forget to share with us so that we can feature you on our website.

Leave a comment
This site is protected by hCaptcha and the hCaptcha Privacy Policy and Terms of Service apply.